Cleaning your air fryer doesn't have to be a chore! Here are some quick tips to help you keep it in tip-top shape without too much hassle.
1. Let it cool down: Always wait for your air fryer to cool down before cleaning. It's not just safer for you, but it also helps to avoid any potential damage to the appliance.
2. Use warm, soapy water: A simple mix of warm water and dish soap works wonders. Just soak the removable parts like the basket and tray for a bit, then scrub gently with a non-abrasive sponge. This will get rid of any sticky residue.
3. Don't forget the exterior: Wipe down the outside with a damp cloth. This keeps it looking good and helps prevent any buildup of grease and grime.
4. Avoid harsh cleaners: Stick to gentle cleaners. Harsh chemicals can damage the non-stick coating and affect the food you cook. Keeping it simple is always best!
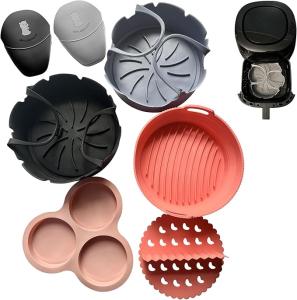
Essential Tools You’ll Need Today
Cleaning your air fryer doesn’t have to be a chore! With a few essential tools on hand, you'll find the process quick and simple. Here’s what you’ll need to get started:
These tools make the cleaning process not only easier but also much more effective. You'll be surprised at how quickly you can get your air fryer looking like new with just a little bit of effort!
Step-by-Step Cleaning Process Made Simple
Cleaning your air fryer doesn’t have to be a daunting task. With a few simple steps, you can have it shining like new in no time! Let’s break it down into easy-to-follow instructions.
Step 1: Gather Your Supplies
Step 2: Unplug and Cool Down
Before you dive into cleaning, make sure your air fryer is unplugged and completely cooled down. Safety first! Let it sit for about 30 minutes after use to ensure it’s not too hot to handle.
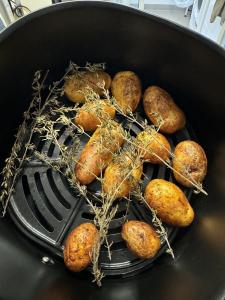
Step 3: Clean the Basket and Pan
Remove the basket and pan from the fryer. Soak them in warm soapy water for about 10-15 minutes. After soaking, use your soft sponge to wipe them clean. If there are any stubborn spots, you can sprinkle a bit of baking soda on them before scrubbing. Rinse thoroughly and let them air dry on a dish towel or drying rack.
Step 4: Wipe the Interior
For the inside of your air fryer, use a damp cloth or sponge to wipe down the surfaces. Avoid getting any water into the heating element. If you see any grease or residue, a little baking soda paste (baking soda mixed with water) can help remove it without scratching the interior.
Step 5: Reassemble and Enjoy!
Once everything is dry, simply put your air fryer back together, and it’s ready for your next cooking adventure. Now you’ve got a clean air fryer, and you can feel good about using it again!
Maintain Your Air Fryer for Long Life
Your air fryer can be a true kitchen hero, but if you want it to stick around for the long haul, a little maintenance goes a long way. Regular care helps it work better and last longer, so let's dive into some simple steps to keep your fryer in top shape.
First off, always remember to unplug your air fryer after each use. This sounds obvious, but it's easy to forget! Not only does it save energy, but it also prevents any accidental burns or mishaps when you're cleaning. Once it’s unplugged, let it cool down completely before you tackle the cleaning.
Cleaning your air fryer is pretty straightforward. Start by removing the cooking basket and pan, then give them a good wash with warm, soapy water. If there's any stubborn food stuck on, a little baking soda can help lift it up. Just make sure to avoid abrasive sponges that could scratch the non-stick surface.
Don’t forget to wipe down the inside of the fryer as well! A damp cloth or sponge works wonders for removing grease that builds up. Make sure to get around the heating element and fan area, as dust can accumulate there too, affecting your air fryer's performance.
Lastly, always check for any wear and tear on the cords and parts. If something looks off, it’s better to address it sooner rather than later. Keeping everything in good condition not only ensures delicious meals but also keeps your air fryer running smoothly for many more dinners to come!